

One thing we have an abundance of in our sunny California garden is mint. I snip it and pop it my Nalgene for a homemade version of Hint water. I’ve muddled it in my morning cappuccino. Sometime I just clip sprigs and pop the mint in vases around the house for a nice natural air freshener that doubles as a bouquet.
When you have a lot of something, you’re bound to get crafty. I always loved mint ice cream as a kid and as an adult Ben & Jerry’s Mint Chocolate Cookie Ice Cream has become one of my Covid-19 pandemic go-tos. So, with a bushel of mint in need of trimming, I decided I’d try my hand at making some homemade mint ice cream.
Clearly we have a soft spot in our hearts for ice cream. Curious about other crazy ice cream flavors we’ve taste tested around the globe? Here are some of our favorite ice cream places in the world.
I think what we have growing in our yard is garden variety spearmint, so that’s what I used in my receipt. I Frankensteined my concoction together from two different “base” recipes I found online over at A Beautiful Plate and Hillbilly Housewife. The main reasons why my version veers from those two recipes is that I wanted to make a vanilla bean mint ice cream that wasn’t too custardy, that didn’t leave me with leftover whipping cream and that used non-fat milk (since that’s what we typically stock in our fridge). In some ways I combined those two recipes and also made some tweaks of my own to accomplish those goals. The recipe below makes approximately one pint of ice cream and turned out so good, I don’t think we’d change a thing. Hopefully you’ll enjoy it too.
Active Time
- About 1-2 Hours
Total Time
- 24 – 48 Hours (Depending on whether or not you decide to let the base marinate in the fridge and if you opt to pre-freeze your ice cream maker bowl before starting this recipe.)
Things You’ll Need
- Big Mixing Bowls
- Cutting Board
- Fine Mesh Strainer
- Ice (For the ice bath.)
- Ice Cream Container (For your finished product.)
- We own six of Tovolo’s Ice Cream Tubs. They’re stackable, seal out air and come in a few different colors which helps us tell one flavor creation from the other. If you’re interested in buying one, you can easily find them via this Amazon affiliate link.
- Ice Cream Maker
- I’ve had my handy Cuisinart 1.5 Quart Frozen Yogurt Ice Cream Maker for years and love it. It’s easy to use, doesn’t take up a ton of space and is a little work horse. If you’re interested in buying one, you can get the same version we’ve got at this Amazon affiliate link.
- Knife
- Medium Mixing Bowl (One will have to sit inside one of the bigger bowls for the ice bath.)
- Small Three Quart Sauce Pot (You can use a bigger or small one depending on how much upper arm strength you have because it will get heavy when filled with the ice cream mixture.)
- Plastic Spatula
- Whisk
- Wooden Spatula
Ingredients
- 100 Fresh Medium to Large Sized Mint Leaves
- 1 Cup of Non-Fat Milk
- 2 Cups (16 Ounces) of Heavy Whipping Cream
- 3 Large Egg Yolks
- 1 Pinch of Salt
- 3/4 of a Cup of White Granulated Sugar
- 1 Vanilla Bean
Instructions
First things first, before you do anything, freeze your ice cream maker bowl at least one day beforehand. I forgot to do this, so my ice cream base mixture sat in the fridge and infused with all its goodness for one day while my ice cream maker bowl froze. I actually think the ice cream turned out more flavorful because of that, but if you’re hoping to dive into your ice cream within 24 hours, you’ll want to pre-freeze that ice cream maker bowl beforehand. If you don’t mind waiting an extra day, and want your ice cream to be extra flavorful, you can pop your ice cream maker bowl in the freezer when you begin working on this recipe.
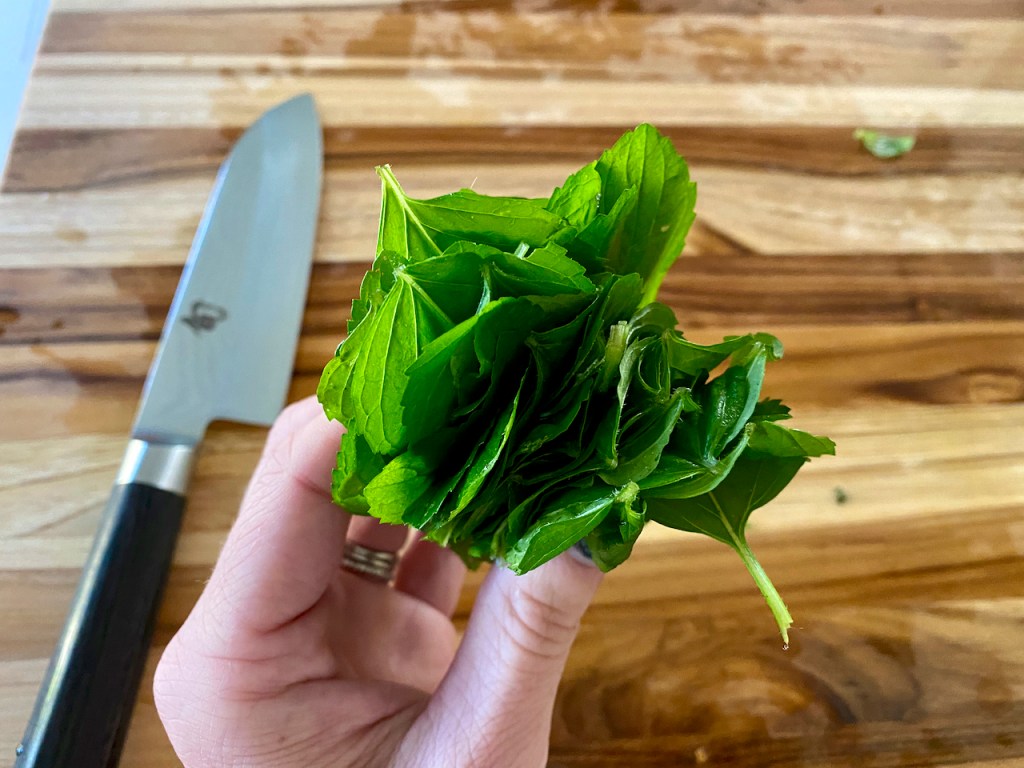
After plucking and counting out my 100 mint leaves, I piled them up, rolled them the best I could and then chopped my leaf sandwich as evenly as possible into four sections/ribbons. When you chiffonade the leaves, it helps the leaves release all their minty flavor and it’s far easier than manually chopping each individual leaf.
Then I got out a heavy pot and poured the milk and cream in it. I popped my mint in and turned on the heat to medium until the mixture began simmering. (You’ll notice I started off using a heavy duty 5.5 quart pot from Le Creuset in my photos which looks gorgeous, but was way too heavy when it came time to pour the mixture. Midway through this post you’ll see that I switched over to a three quart All-Clad stainless steel sauce pot which was way easier to maneuver. Word to the wise, don’t make the same mistake I did by using a hefty Le Creuset unless you want a tidal wave of ice cream mixture on your counter. If you’re interested in purchasing either of those pots, you can find similar versions of the 5.5 quart Le Creuset I have here and of the three quart All-Clad we used here via Amazon affiliate links.)
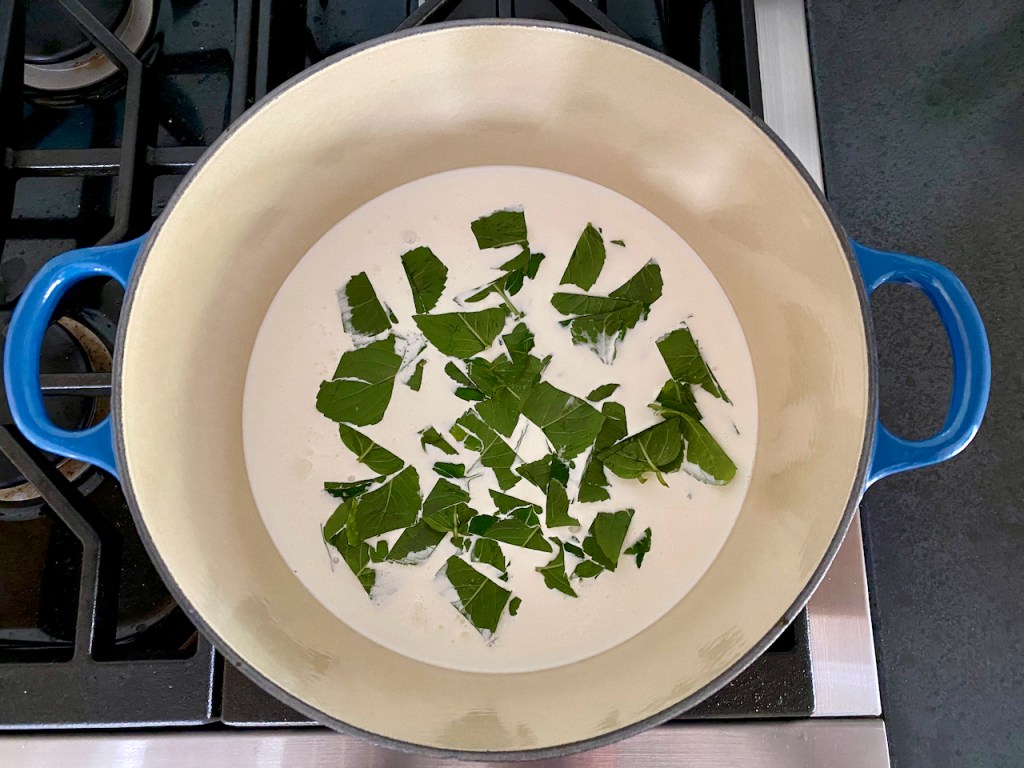
Once that happened, I turned off the stove and removed my pot from the burner by sliding it over to a cool burner. I popped the lid on the pot and let it steep for one hour.
This is about when I realized, “Crap, I forgot to freeze the ice cream maker bowl, didn’t I?” Instead of panicking, I recalled having crafted other versions of ice cream where the base sits in the fridge, so I dutifully popped the ice cream maker bowl in the freezer at this point and continued along with my recipe.
My next step was to remove the mint leaves from the mixture …and this is where I had my Exxon Valdez moment. Go with the lighter smaller stainless steel pot and you’ll avoid this issue. I put a steel mixing bowl in the sink and positioned a strainer above it and then poured my milk mint mixture through the sieve. I used a plastic spatula to smoosh (yes, that’s a technical term) the mint leaves against the sieve and to get all that minty goodness out. Once all of the mint leaves were removed, I put the milk mixture back in the pot.

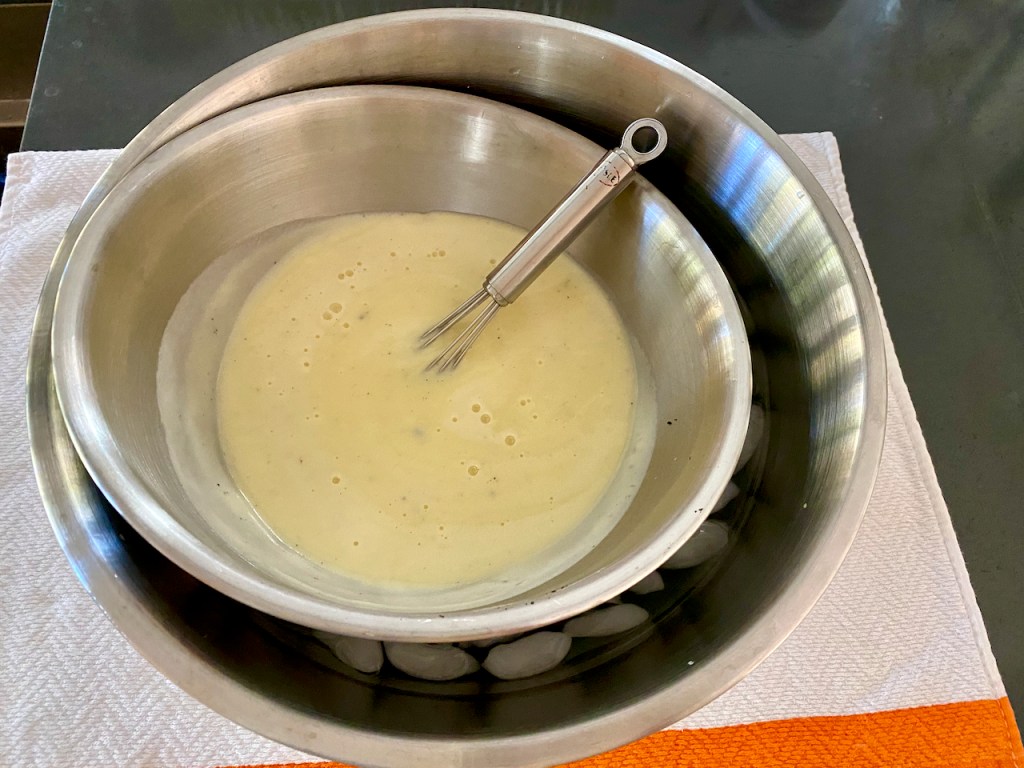
In a separate bowl I combined the sugar, salt and the three egg yolks. (You can certainly use more egg yolks if you like more custardy ice cream or you can opt to go with less yolks. Three egg yolks was spot on for my tastebuds.)

When you first begin whisking the mixture together it’ll get chunky. That means you’re not done yet. You’ll want to keep whisking until the sugar dissolves and the mixture looks creamy and turns a pale yellow color.
Since you don’t want to cook the eggs, the next step is important. To temper the mixture, pour the hot milk mixture into the egg mixture extremely slowly while whisking. (Again, this is where it helps to have a lighter pan. Having two people also makes this step significantly easier since you can have one person slowly pour the milk mixture while the other person whisks the egg mixture. Alternatively you could ladle the mixtures in bit by bit, but you need to keep the egg mixture moving/being whisked as the hot milk mixture goes in. Pouring too much milk too fast just results in omelettes, not ice cream.)

Now it’s time to put the mixture back in the pot, this time over low heat. You need to stir it continuously until the mixture has thickened. The easiest way to know it’s done is when the mixture is thick enough that it coats the back of a wooden spoon or wooden spatula.
Pop a medium sized bowl in the sink and position the sieve over the top of it. Pour the mixture from the pot through the sieve and into the medium sized bowl.
Get a large sized bowl and create an ice bath by putting some ice cubes and cold water in it. Carefully rest the medium sized bowl with the ice cream mixture inside the big ice bath bowl. (It’s easy to accidentally spill it in the ice bath if you aren’t cautious.) Stir the mixture every five to ten minutes until the mixture has cooled.
In addition to Camper, here’s a list of other neat little local spots we love across the Bay Area and Silicon Valley.
In between your mixture stirrings, get out your vanilla bean (if you prefer to go with a mint vanilla flavor ice cream versus just mint). Cut the bean in half lengthwise and scrape all the gooey goodness out with a thin blade knife. Sprinkle the vanilla innards into the mixture and you can even put the bean carcasses in there too (just don’t forget to remove them before you pour the mixture into your ice cream maker or someone will get a surprise in one of their scoops).

You can pour the final mixture into a bowl as long as you seal it. (I usually opt to pour the mixture into the same vessel I plan on putting my finished ice cream in because the ice cream containers seal, they stack nicely in your fridge, don’t take up as much width as a bowl and because it saves you one extra dirty dish.) If you use a spoon to encourage your two big vanilla pods to float to the top, it might help remind you to remove them before you freeze the mixture. Pop the mixture in the fridge until it is completely cooled. If you put your ice cream maker bowl in the freezer at the beginning of this recipe, then you can just leave the mixture in your fridge overnight.
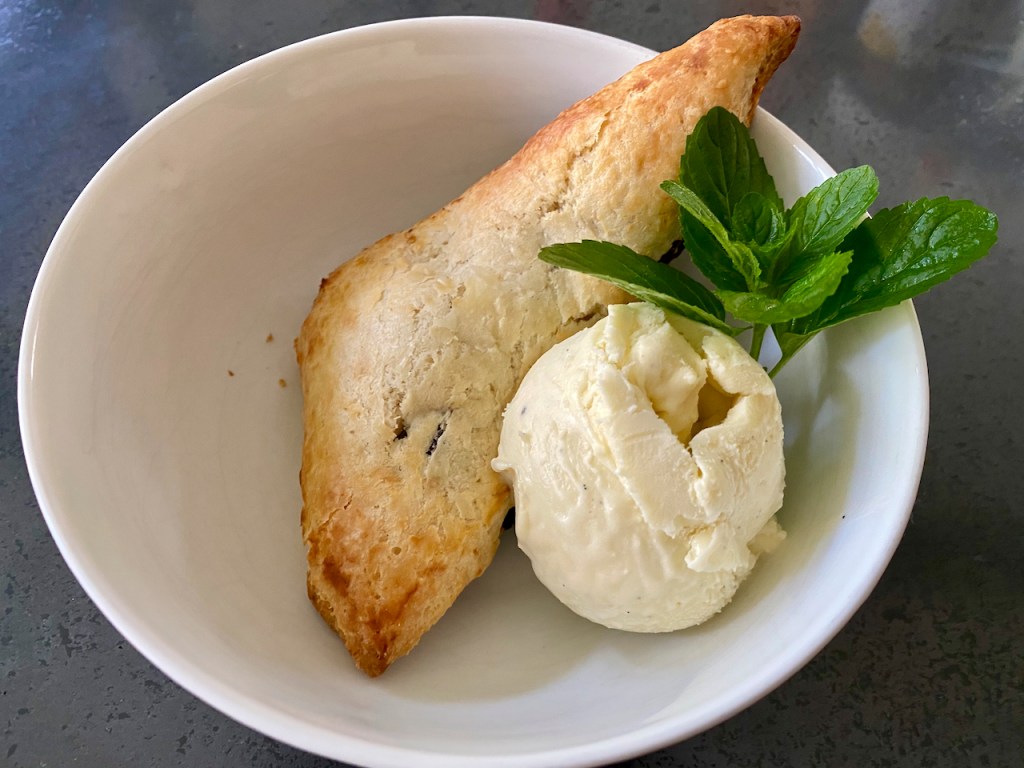
When your mixture is chilled, or when you and your ice cream maker are ready, remove the two big vanilla bean pods from your mixture and pour the mix into your ice cream maker per the machine’s instructions. Pour the finished coronavirus encourage-mint into your container for at least four to six hours. Once it’s frozen solid, it’s ready to eat.
We get it, it’s tough work reading word after word about delicious homemade ice cream. Give your pointer finger some much needed exercise after all that heavy scrolling you just did. If you enjoyed our recipe for mint vanilla bean ice cream, let us know. Please click the “like” button with a star on it at the bottom of this post, share the link to this article via your social media handles, email this article to someone you know who has too much mint on their hands or send this post to a friend who loves ice cream and let them know you’re thinking of them.
If you’re feeling super ambitious, we’d love it if you’d buy us a cup of coffee, so we can taste test, visit and review even more awesome food for you!
For information about our conflict of interest disclaimer, please visit our About Krista page.

December 17, 2020 at 4:50 am
Sounds like a bit of effort – but well worth it!
LikeLiked by 2 people